


Open your fridge and run a finger along the rubber strip that wraps the door edge. That strip is your door seal — some folks call it a door gasket, same part. Inside that rubber sits a thin magnetic strip. Every time you push the door shut, the magnet pulls the gasket tight against the metal frame and creates an airtight closure. Cold stays in, warm kitchen air stays out.Here’s the thing. The second that barrier weakens, your compressor picks up the slack hard. It’ll run nonstop trying to hold temperature, your electric bill creeps higher, and groceries spoil before you get around to eating them. If you’re noticing these signs, professional appliance repair Sarasota can quickly inspect the seal and restore proper efficiency before costs climb further. The U.S. Department of Energy estimates a lousy fridge door seal can bump energy use by 25 percent. In Sarasota, Florida, where humidity alone makes appliances work overtime, that number hits your wallet even harder.
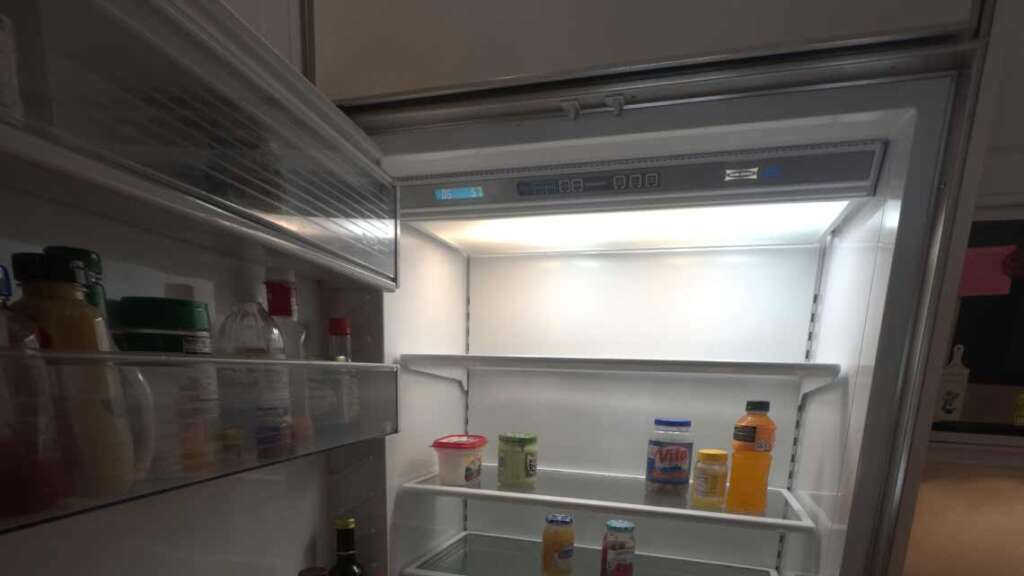
5 Warning Signs Your Fridge Gasket Is Failing
The good news? You can almost always catch a bad seal before it turns into an expensive headache. Keep an eye out for these five red flags.
1. Cracks, Tears, or Hard Spots in the Rubber
Grab a flashlight and inspect the full length of the gasket. Feel for stiff sections, look for hairline cracks, check corners where rubber tends to pull from the channel. I’ve seen homeowners go years without noticing a small tear along the bottom edge — tiny thing, but enough to keep the compressor hammering for hours. Once rubber is physically damaged, no amount of cleaning brings back the seal.
2. Moisture or Condensation on the Outside of the Door
Water droplets showing up on the exterior of the door or right on the gasket itself mean one thing: warm air is sneaking past the seal and hitting the cold surface inside. Leave it alone long enough and mold sets up camp in the rubber folds. Now you’ve got an efficiency problem and a hygiene problem rolled into one.
3. Frost Buildup Inside the Freezer
Heavy frost in the freezer compartment is a textbook sign of a worn-out freezer door seal. Warm air carries moisture through the gap, and that moisture freezes the moment it touches the evaporator coils. If you’re defrosting the freezer more than once every few months, the gasket deserves a hard look.
4. Electric Bills Climbing for No Obvious Reason
A fridge running its compressor around the clock because of air leaks eats electricity like a space heater. Folks in Sarasota have told me their summer power bill jumped 15 to 20 percent — and the culprit wasn’t the AC. It was a worn-out fridge gasket forcing the refrigerator to fight Florida heat on its own.
5. Food Spoiling Way Too Fast
Milk going sour before the date on the carton. Lettuce wilting by day three. Meat changing color on the shelf. Before you blame the thermostat or compressor, check the refrigerator door seal. A leaky door causes temperature swings, and perishables don’t forgive that.
Tools and Materials You’ll Need
Get everything together before you start — the fridge will be standing open, and the faster you work, the less your food suffers.
You’ll need a replacement gasket matched to your refrigerator’s make and model (model number is on the sticker inside the door or in the manual), a Phillips or flathead screwdriver, a plastic scraper or putty knife, warm soapy water and a rag, a hair dryer in case the new rubber arrives kinked, and petroleum jelly.
Step-by-Step: How to Replace a Refrigerator Door Seal Yourself
The whole job takes 30 to 45 minutes. No special skills, just patience and a little attention to detail.
Step 1 — Kill the Power
Unplug the fridge or flip the breaker. The gasket itself isn’t electrical, but with the door open for a stretch the compressor will go into overdrive trying to cool down the kitchen. Save yourself the headache and just pull the plug.
Step 2 — Pull Off the Old Gasket
Peel back the inner lip of the seal — underneath you’ll see retaining screws or a plastic track. Loosen the screws about halfway. Don’t take them all the way out; those same screws hold the interior door panel in place. Start at a top corner and work your way around, peeling the old rubber free as you go.
Step 3 — Clean the Channel
Underneath the old gasket you’ll find grime, dried food, maybe adhesive residue. Scrub the channel and surrounding surface with warm soapy water, then dry completely. A new seal won’t sit right on a dirty surface — skip this and you’ll wonder why the brand-new gasket “doesn’t hold.”
Step 4 — Prep the New Seal
Unpack the replacement gasket and lay it flat on a counter for fifteen minutes. If it came folded and the creases won’t relax, hit it with a hair dryer on low. Warm rubber gets pliable fast and conforms to the door frame without kinks.
Step 5 — Install the New Gasket
Start at the top. Tuck the rear flap of the new seal into the track or behind the retainer strip. Work down each side, pressing the rubber firmly into position. Pay extra attention to the corners — misaligned corners are the number-one reason people end up with gaps after a brand-new refrigerator door seal replacement.
Step 6 — Tighten and Test
Snug up the screws just enough to hold the gasket without squashing the rubber. Close the door and look it over — the seal should sit flush against the frame all the way around with no daylight showing. Run the dollar bill test at a few spots to confirm even grip.
Step 7 — Power Up and Monitor
Plug the fridge back in and give it a good four hours to stabilize. Check the thermometer: you want roughly 37 °F in the fresh-food section and 0 °F in the freezer.
Post-Replacement Checklist
Once the new refrigerator door gasket is in, run a quick sanity check. The door should swing closed under its own weight — no sticking, no bouncing open. Watch for condensation around the seal during the first 24 hours. Listen to the compressor; it should cycle on and off normally, not drone on endlessly. If the fridge still can’t hold temperature or the compressor won’t quit, the problem runs deeper than the gasket.
Techs at SRQ Appliance Repair can get to the bottom of it — show up, diagnose, and fix it in one trip.
How to Make Your New Gasket Last Longer
A decent fridge door seal holds up five to ten years with basic care. Once a month, wipe the rubber down with a damp cloth and a drop of dish soap — get into the folds where crumbs hide and turn into mold. Skip bleach and abrasives; harsh chemicals eat through rubber faster than age does. Twice a year, rub on a thin layer of petroleum jelly to keep the rubber supple and help the magnetic seal grab tighter.
And quit slamming the door. Every slam loosens the gasket in its channel. Make sure tall bottles on the door shelves aren’t pushing against the seal from inside. Double-check that the fridge sits level; a unit leaning forward won’t close square, and the gasket wears unevenly.
For homeowners who’d rather leave maintenance to the pros, a trusted local appliance repair service can run a seasonal inspection twice a year and catch small gasket issues before they snowball into major cooling failures.
When You Should Call a Pro Instead
Swapping a door seal is totally doable for anyone with a screwdriver and a quick tutorial. But a few situations are better left to somebody who does this daily. Door hinges out of whack and the door sagging? Adjusting them takes the right tools and a feel for frame geometry. Gasket is brand new but the fridge still won’t shut off? You’re probably looking at a bad evaporator fan, failing thermostat, or dying compressor — none of that is a weekend project.
Across the Sarasota area, people call on appliance repair in Sarasota FL pros who show up same day, nail down what’s wrong, and wrap it up in one visit. Whether it’s a gasket swap or a full cooling-system workup, booking a same day refrigerator repair service takes the guesswork out and keeps your warranty intact.
Name:
SRQ Appliance Repair
Address:
3959 Yellowstone Cir Sarasota 34233
Phone:
(941) 233-0641
Website:
https://srq-appliancerepair.com/
Hours:
Mon-Fri: 8:00 a.m. – 7:00 p.m.
Sat: 10:00 a.m. – 2:00 p.m.
Sun: Closed
Frequently Asked Questions

Hi Sarasota! My name is Vitalii. I’ve been repairing home appliances in Sarasota and the surrounding areas for many years. I know this field inside and out! Here I share my experience and practical tips. I’d truly appreciate your shares, questions, and comments. Thank you!