


Most guides throw eight causes at you and let you sort it out. I’d rather flip it — because your symptom narrows the cause faster than a checklist ever will.
- An oven that’s stone cold is a different repair from one that heats but runs 75 degrees low.
- An oven that bakes but won’t broil points somewhere specific.
- And an oven that died the day after you ran self-cleaning?
That’s almost a diagnosis by itself. So before you touch a screwdriver, notice exactly how your oven is failing.
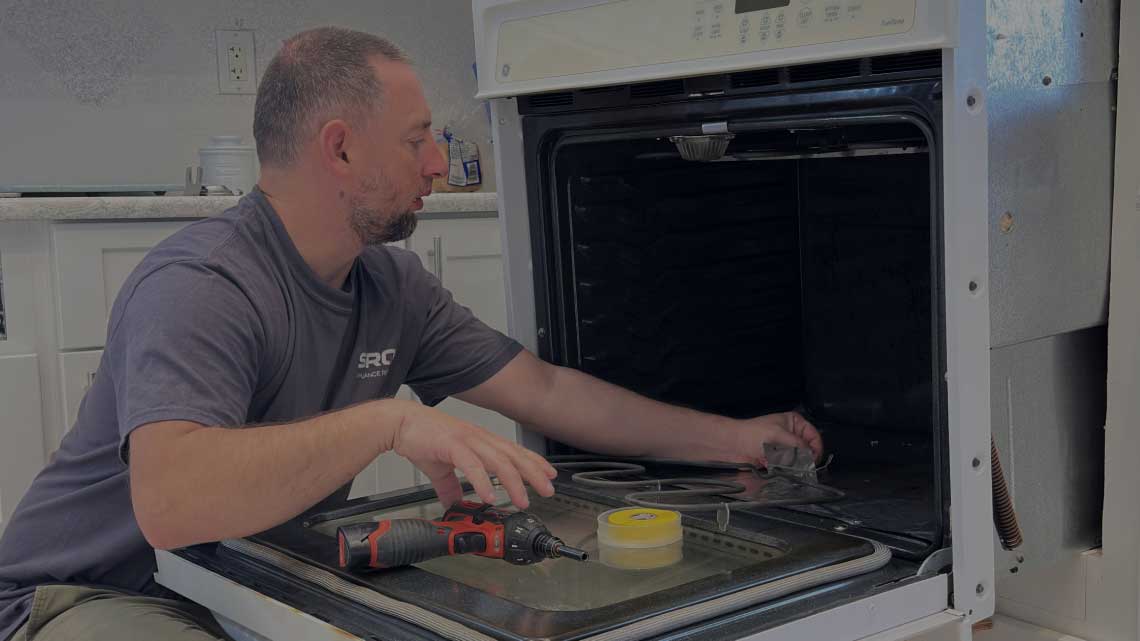
I run appliance fix Sarasota FL calls on no-heat ovens constantly, and the first question I ask on the phone is “what’s it actually doing.” Match your situation to one of the symptoms below and you’ll know where to look. This guide sticks to electric ovens.
Symptom A: Stone Cold, No Heat at All
Nothing warms up. Racks stay room temperature no matter how long you wait. This points at the heating elements or their power.
- The bake element — that curved metal coil along the oven floor — is the usual suspect. Working, it glows bright orange. Dead, it stays dark, and you’ll often spot the failure: a visible break, a blistered bulge, or a scorched split in the coil. Elements don’t last forever; they burn through eventually.
- But “stone cold” isn’t always the element. Electric ovens need a full 240-volt supply, delivered as two 120-volt legs. Lose one leg — half-tripped breaker, loose terminal, burnt wire — and here’s the trap: the oven still lights up and runs the clock, because the control board only needs 120V. The elements need the full 240, so they stay cold. The oven looks alive but won’t heat.
That’s why an appliance repair in Sarasota FL tech reaches for a multimeter first — confirming both legs of power before condemning an element you might not need to replace.
Symptom B: Heats, but Never Reaches Temperature
The oven warms up, but food comes out raw in the middle, or takes forever, or the built-in thermometer never hits your setting. This is a different animal from no-heat-at-all.
Prime suspect: the oven temperature sensor. It’s a thin metal probe poking into the oven cavity that tells the control board how hot things are. When it drifts or fails, it feeds the board wrong numbers. The board thinks the oven’s at temperature when it isn’t, so it cuts heat early — and you get a cavity running 50 to 100 degrees under your setting.
Quick sanity check: drop an oven thermometer on the middle rack, set the oven to 350, and let it fully preheat plus ten minutes. If the thermometer reads way off, the sensor (or its calibration) is your problem, not the element.
Sometimes it’s the element partially failing too — glowing weakly instead of full orange — but the sensor is where I’d start when the oven heats but underperforms.
Symptom C: Bakes but Won’t Broil (or Vice Versa)
Here’s a clue a lot of people miss. If your oven bakes fine but won’t broil — or broils but won’t bake — you’re almost certainly not looking at a dead element or a power problem. You’re looking at a relay. Inside the control board are relays: little switches that route power to the bake element and the broil element separately. Each function runs through its own relay. When one relay fails, that one function dies while the other keeps working perfectly. Bake works, broil’s dead — bad broil relay. Simple as that.
It can also be the individual element that failed, since bake and broil are separate coils. Either way, the split symptom tells you the whole oven isn’t the issue — just one heating path. That narrows the repair and usually the cost. An affordable oven repair tech can test which of the two it is in a few minutes with a meter.
Symptom D: Went Dead Right After Self-Clean
This one’s so common it’s almost a signature. The oven worked fine, you ran the self-clean cycle, and now it won’t heat at all — sometimes won’t even power the display. That’s the thermal fuse. It’s a one-time safety device that cuts power if the oven gets dangerously hot. And nothing gets an oven hotter than self-clean, which deliberately runs the cavity up past 800°F to incinerate residue. That extreme heat routinely trips the fuse. Once it blows, it doesn’t reset — it has to be replaced.
If your oven died within a day of a self-clean run, put the thermal fuse at the top of the list. It’s a cheap part, but reaching it means pulling the back panel, and there’s often a reason it blew — sometimes a cooling fan that failed and let heat build. A tech checks the why, not just the fuse.
Symptom E: Panel’s On but Nothing’s Cooking
The display lights up, buttons beep, clock’s running — but the oven stays cold. Two directions here, and one of them costs you nothing.
- First, the free one: settings and modes. Ovens have delay-start timers, Sabbath mode, demo mode, and control locks — and any of them can leave you with a lit panel and a cold cavity. Demo mode is the sneaky one; it’s built for showroom floors and disables all heating while letting the panel look fully alive. Bumped by accident, it’ll drive you crazy. Cancel every mode, kill any timer, and try a plain bake at 350 before assuming a part failed.
- Second, the not-free one: the control board. It’s the brain that tells the elements when to fire. When it fails — age or, in Sarasota, a storm surge frying a component — it can just stop sending the “heat now” signal. The display works, but the oven doesn’t. Board diagnosis needs a tech with a meter, because it’s the priciest part in the oven and you don’t want to guess.
The Two-Minute Look That Tells You a Lot
Before calling anyone, do this. Costs nothing, rules out the easy stuff.
- Set the oven to bake at 350 and watch the bake element through the door for sixty seconds.
- Full orange glow across the whole coil? Element’s fine — look elsewhere.
- No glow, or glow only in patches? There’s your burnt element.
- Then reset the breaker properly — firmly to OFF, wait, firmly back to ON. Half-tripped breakers are behind a shocking number of “won’t heat” calls, and a lazy flick doesn’t reset them.
- Then test broil against bake. If one works and the other doesn’t, you’ve already narrowed it to a relay or a single element — not the whole oven.
Three checks, two minutes, and you’ve either solved it or handed your tech a head start.
The Self-Clean Trap
Worth its own warning, because it’s the biggest preventable cause of no-heat ovens I see.
Self-clean runs the cavity hotter than any normal cooking ever will — past 800°F. That heat fries thermal fuses, stresses control boards, and cooks wiring insulation brittle. Half my “oven died for no reason” calls trace back to a self-clean run in the previous couple of days.
Advice: If you can wipe the oven down by hand instead, do it. Your oven will last years longer. And if you must self-clean, do it well before you need the oven — not the afternoon before Thanksgiving, which is exactly when I get the panicked calls.
What You Can Handle vs. What You Can’t
Straight breakdown.
resetting the breaker, canceling stuck modes and locks, checking the element glow, and swapping a bake element if you’re comfortable — it’s genuinely one of the easier fixes, a couple screws and two wire connectors.
temperature sensors, thermal fuses, relays, control boards, and anything involving the 240-volt supply wiring. These need a multimeter to diagnose correctly, and guessing means buying parts you didn’t need. Anything scorched or smelling of burnt plastic is an automatic stop — that’s an electrical fault, not a swap.
SRQ Appliance Repair techs work the whole no-heat chain methodically — element, sensor, fuse, relays, board, power supply — test instead of guess, quote before touching anything, and carry the common parts on the truck. Most no-heat ovens get sorted in one visit.
Name:
SRQ Appliance Repair
Address:
3959 Yellowstone Cir Sarasota 34233
Phone:
(941) 233-0641
Website:
https://srq-appliancerepair.com/
Hours:
Mon-Fri: 8:00 a.m. – 7:00 p.m.
Sat: 10:00 a.m. – 2:00 p.m.
Sun: Closed
Frequently Asked Questions

Hi Sarasota! My name is Vitalii. I’ve been repairing home appliances in Sarasota and the surrounding areas for many years. I know this field inside and out! Here I share my experience and practical tips. I’d truly appreciate your shares, questions, and comments. Thank you!